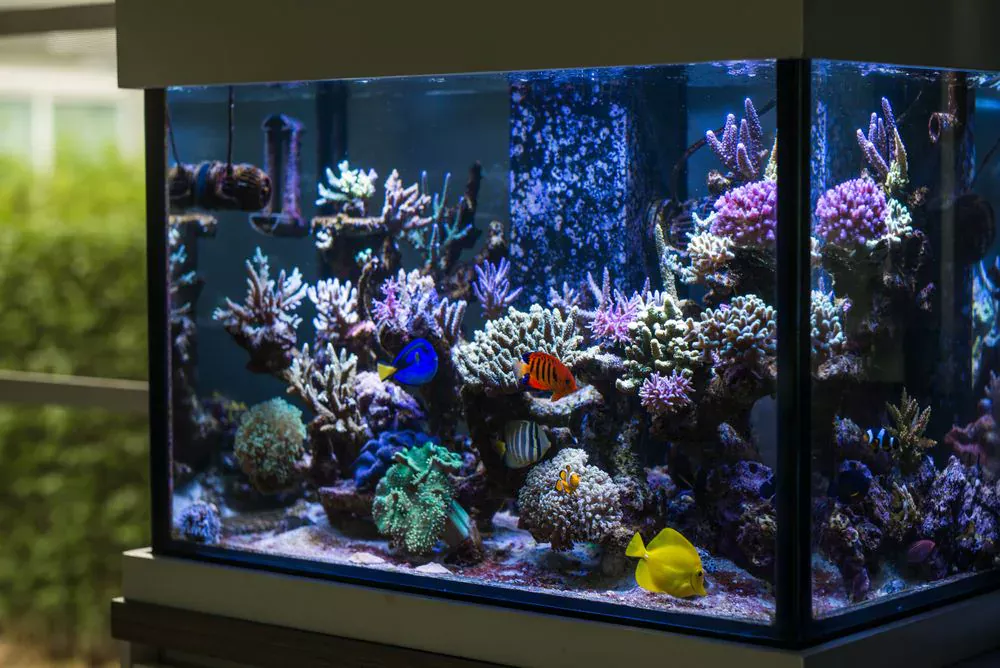
The salt water tank set up process is a lot more complicated than what it might appear at first. Some of the most important elements and equipment you must have before you start are not always obvious. This article will steer you in the right direction towards having the best salt water tank set up possible that is easy to care for.
- 1 How Much Experience Do I Need?
- 2 Types of Saltwater Tanks
- 3 What Is The Best Starter Saltwater Aquarium?
- 4 What Size Saltwater Tank Should A Beginner Get?
- 5 Salt Water Tank Set Up Cost
- 6 What Equipment You Need to Set up Saltwater Tank
- 7 Salt Water Fish Tank Set Up Process
- 8 Video Guide: Salt Water Tank Set Up
- 9 Cleaning Your Saltwater Aquarium
- 10 Feeding Your Saltwater Fish
- 11 Best Saltwater Aquarium Fish For Beginners
- 12 How To Lower Nitrates In A Saltwater Aquarium?
- 13 How Do You Raise pH Level In A Saltwater Aquarium?
- 14 Final Words
How Much Experience Do I Need?
Saltwater tanks are harder to care for as compared to freshwater tanks and can be very expensive. They also require a lot more maintenance, taking up more of your time and money. The fish in saltwater tanks usually also require more expensive food.
Saltwater tanks are also harder to keep stable and provide a suitable environment for fish to live in. They also have a higher chance of developing algae problems.
If you have any experience keeping plant life alive (such as caring for houseplants), then you might have enough experience for salt water fish tank set up. You will still need to purchase equipment, including the tank itself, water filters, and possibly heaters and lights which we will discuss later in this article.
Types of Saltwater Tanks
When setting up a saltwater tank, there are three common options: Fish Only, Fish Only With Live Rock, and Reef Tank. Let’s discuss the theme one by one.
1- Fish Only

Fish only is the least expensive and simplest of the three options. You can just add water to your aquarium, fill it with decorations and add your fish. The fish will produce waste that will cause high levels of nitrates in the water, so you will need to set up a regular schedule for water changes. This type of tank is also known as a FO tank.
2- Fish Only with Live Rock
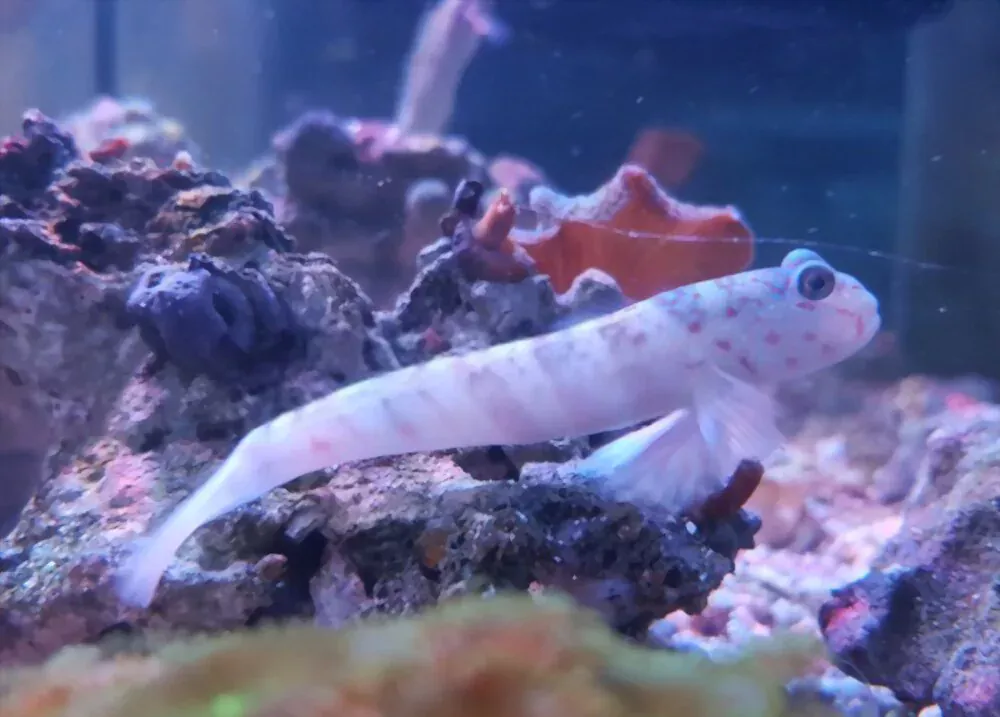
Live rock is coral that has been harvested from the ocean for use in an aquarium. As it sits in the tank, it develops colonies of beneficial bacteria that help keep your water clean. A fish-only tank with live rock requires less maintenance than a standard fish-only tank because the live rock helps keep nitrate levels down naturally. It’s still important to test the water regularly to ensure quality parameters are being met and perform regular water changes when needed.
3- Reef Tank
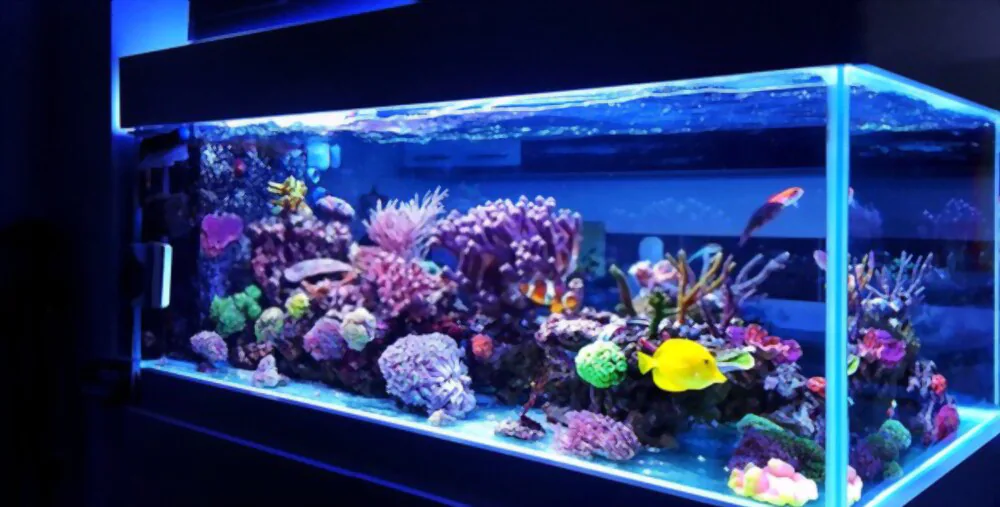
A reef aquarium uses a live rock as its base and then adds corals and other invertebrates as desired. It often uses metal halide or LED lighting.
Reef aquariums can be quite large and expensive, so they are often kept in a private residence. They may also be used for public display. A reef tank is often very colorful due to the various corals that are used as decorations.
What Is The Best Starter Saltwater Aquarium?
For the average beginner, we recommend purchasing a reef-ready all-in-one system that comes with lighting, filtration, protein skimmer, and circulation pump. This is an awesome way to save time and money by avoiding having to buy these items separately.
If purchased separately you would easily spend $300-$400 on just these components alone! For example, one of our favorites is the Fluval Sea Evo XII 13.5 gallon Saltwater Fish Tank 14 gallon. This is a great size for beginners in small spaces like apartments or offices.
What Size Saltwater Tank Should A Beginner Get?
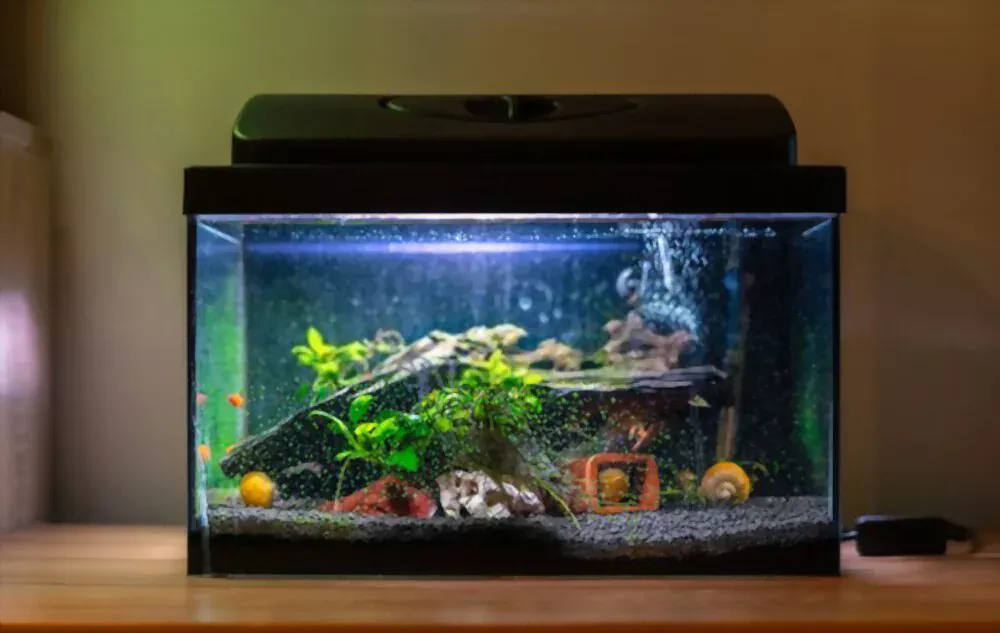
The bigger the tank, the easier it is to keep a healthy marine aquarium. You will also have more space for corals and fish which means more enjoyment and less maintenance. The best starter saltwater aquarium kit will be a larger tank (around 30 gallons or more).
But if you don’t have that much space available, we recommend at least buying a tank between 13 to 15 gallons large. You should also be prepared to spend about $100 a month on maintenance, food, and upkeep.
Salt Water Tank Set Up Cost
As I mentioned earlier, if you are a beginner we recommend starting by purchasing an all-in-one aquarium kit if you want something that’s easy to set up, or you can buy each component separately if you want more control over the finished product.
If you wanna go with the second option, A salt water tank will require an initial setup cost of around $400-$1000 depending on the size of the tank.
This includes all the necessary aquarium equipment for maintaining your fish including filters, heaters, pumps, etc. The main cost for setting up a salt water tank is going to be the live rock that you use as a substrate for your reef. This can cost anywhere from $2-$10 per pound depending on where you purchase it from.
What Equipment You Need to Set up Saltwater Tank
When setting up a new saltwater aquarium, there are several things that you will need to purchase and install before your aquarium is ready to add fish. The cost of setting up the new tank can vary depending on the equipment you choose and the size of the aquarium.
Some items needed for a new saltwater tank include:
- Aquarium
- Stand
- Media Tray
- Lights
- Tank Mounts
- Heater
- Protein Skimmer
- Wave Pump
- Live Sand
- Live Rock
- Coral Salt
- Water Test Kit
Salt Water Fish Tank Set Up Process
Let’s break this process into small steps:
1- Plan Your Fish Tank
You will first want to decide on what type of aquarium setup you want. For example, do you want a freshwater aquarium or a saltwater aquarium? You will also want to decide on the size of your tank as well as any decorations that you might like to add to it.
Let’s assume you have decided to go with a saltwater aquarium. In that case, you can buy the above-mentioned equipment from any pet store or any online website. Once you are done you can move on to the next step.
2- Prepare the Aquarium
You’ll need to prepare the aquarium before we move on to the next step. The process is fairly simple, but it’s important to follow the steps.
If you’re setting up a brand new aquarium, there’s no need to wash it. You can just put it where you want it and start adding equipment.
If your tank is used or has been sitting empty for a while, clean the inside surfaces with a scrubber pad. Make sure to rinse it thoroughly so all traces of soap are removed.
If you’ve got an old tank that’s never been used, or if you purchased one secondhand, use a water conditioner when you prepare the water for your tank. This will remove any chemicals that might be in the glass from manufacturing or storage (such as vinegar).
salt water fish tank set up can be placed on most types of furniture, as long as they’re strong enough to hold it. A coffee table works well, just make sure the floor is level so the tank doesn’t tip over!
3- Put In The Equipment
Once your tank is ready to be set up, you can start installing the equipment. In order to make this process easier, you should place all of the equipment in the tank before filling it with water.
These are the items that you will need to install in your saltwater aquarium before you introduce any water:
- Powerhead/pump
- Heater
- Filter (canister filter or wet/dry filter)
- Protein Skimmer
Pro Tip:
Ideally, the filter pump and protein skimmer should be connected to a separate power outlet so that they do not get shut down if there is a power outage. This will keep air moving through the skimmers and prevent your aquarium from overheating. It will also help maintain proper levels in the sump.
If you are struggling to install this equipment, you can watch that video guide at the end of the article.
4- Add The Water And Run A Wet Test
After you have installed all the equipment, You can now add salt water to your acrylic glass aquarium. This is called the “Wet Test” and it should be done before adding any live rock or sand. Make sure you have desired salt level.
To start off, fill up your tank with salt water. Make sure to keep an eye on the salinity levels in the tank to make sure they are correct. Once filled, go ahead and plug everything in and turn it on, making sure all of your equipment is working properly.
Now you will need to check for any leaks in your tank by running it for about 24 hours and monitoring it closely. If everything seems fine, you can continue with setting up your water aquarium. If something is leaking or not working properly, this is when you want to find out about it!
5- Add The Substrate
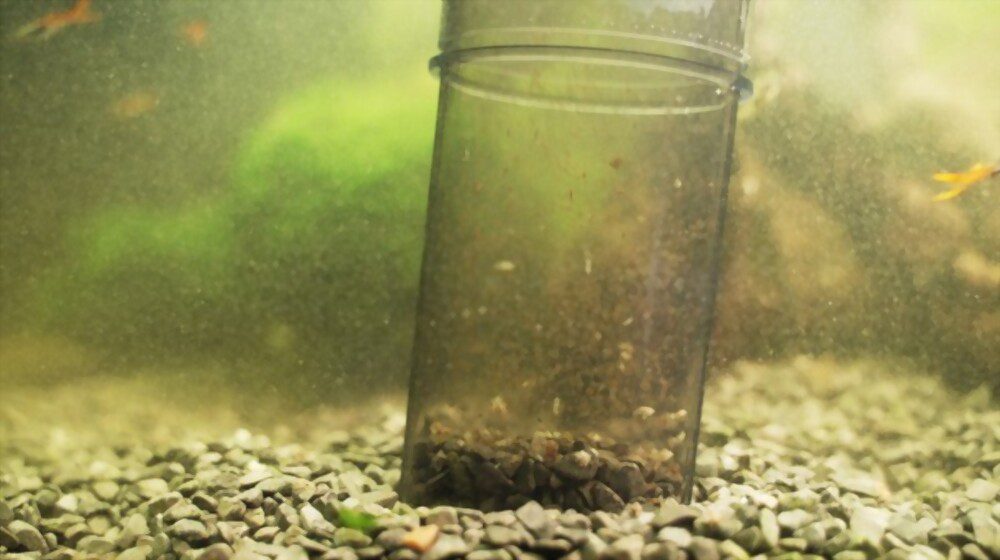
The next step is adding substrate to your aquarium. The substrate is the bottom layer of gravel or sand that you put into the tank. Make sure you choose a type of substrate that will help maintain the water quality and pH level for your fish.
For example, if you are keeping one of the species of tetra that prefer acidic water conditions and a dark substrate, then go with darker gravel.
If you have live plants you will also need to make sure your substrate allows for root growth and provides nutrients to the plants.
Make sure you rinse off the substrate before adding it to your tank otherwise it will cloud up the water and may also release chemicals into the water.
6- Add Decorations
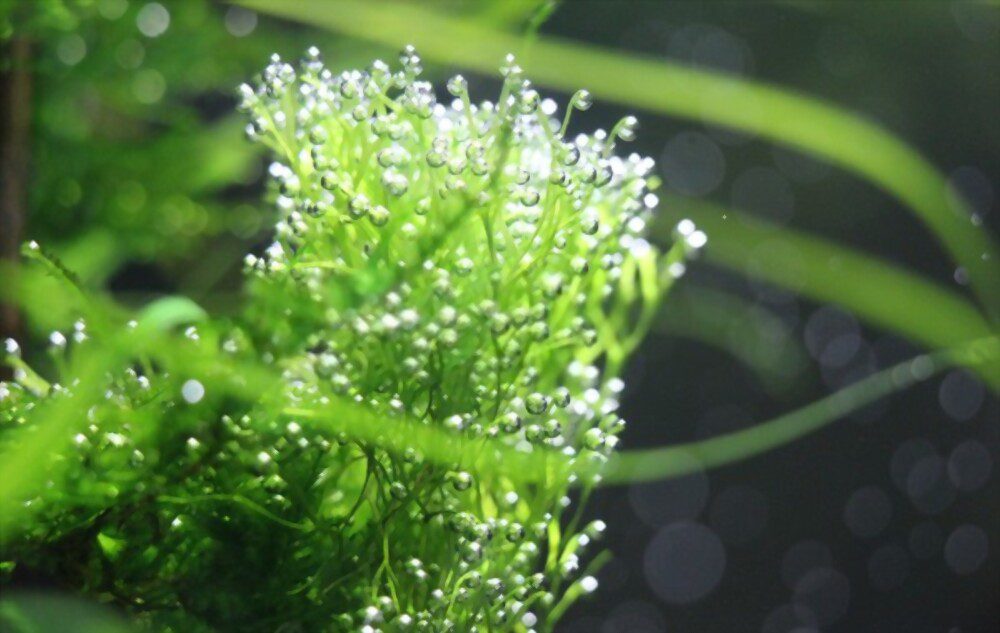
The next step is adding decoration to your aquarium. This is entirely a matter of personal taste, but there are some general guidelines for different types of aquarium decorations.
Live plants are attractive and natural-looking in an aquarium. Some fish even eat live plants. But remember that live plants need light to grow and thrive, so if you’re going to have live plants in your tank, make sure the hood you choose has lights that can support plant growth.
Fake plants can be used if you don’t want to deal with the hassle of live ones or if you’re keeping fish that like to dig up and eat live plants. Fake plants are generally easier to clean than real ones, too. Just make sure they’re made of plastic (so they won’t hurt your fish) and wash them off before putting them in the tank.
Tiny castles and pirate ships can be fun for kids’ tanks, but be careful not to put anything in a tank that has sharp edges, it could hurt your fish!
Rocks can provide hiding places for fish and interesting places for beneficial bacteria to colonize (and help keep your tank’s water clean). There’s a wide variety of rocks, so choose whichever ones you like best.
7- Cycle The Tank
Cycling is critical because it prepares the tank for fish by allowing beneficial bacteria to grow that will eliminate fish waste products. Here’s how:
Add live rocks to the aquarium. Live rocks are porous rocks that were taken from a reef and are available at most pet stores. They serve as home to beneficial bacteria that will help break down ammonia and nitrite in the water into less harmful nitrate, which can then be removed with regular water changes.
You can also add ammonia as well, just follow the directions on the bottle for dosing, so you’ll get a jump start on cycling the tank before adding your fish.
8- Install Aquarium Lighting System
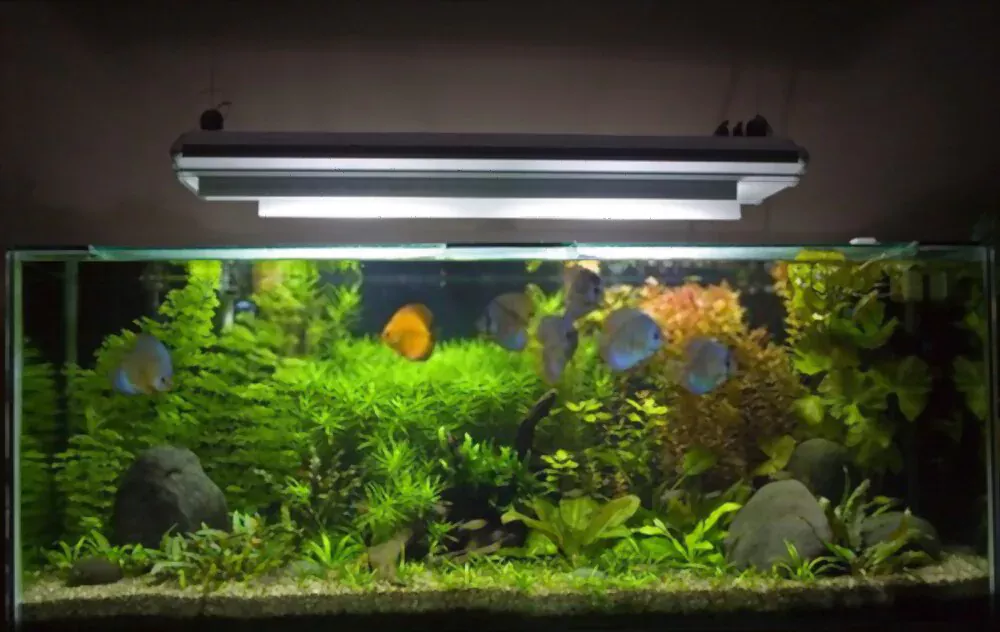
The final step is to install the aquarium lighting system. This can be a very simple task or a very complicated one, depending on the type of lights you have and their configuration.
If you are using a single fluorescent light fixture, simply hang it over the top of the aquarium and plug it in. If you are using multiple fluorescent fixtures, be sure to place them equidistant from each other. This may mean placing one fixture on each end of the tank and one in the middle.
Aquarium hoods may need to be adjusted before they will fit properly. Try taking them apart and putting them back together inside out so that they fit more snugly.
Metal halide lighting may require hanging hardware in order to suspend it over your reef tank. If you bought your metal halides from us, this hardware should have come with it; otherwise, you’ll need to purchase some at your local hardware store.
Once you have suspended any metal halide fixtures over the tank, you can plug them in and fire them up!
9- Introduce Your Fish
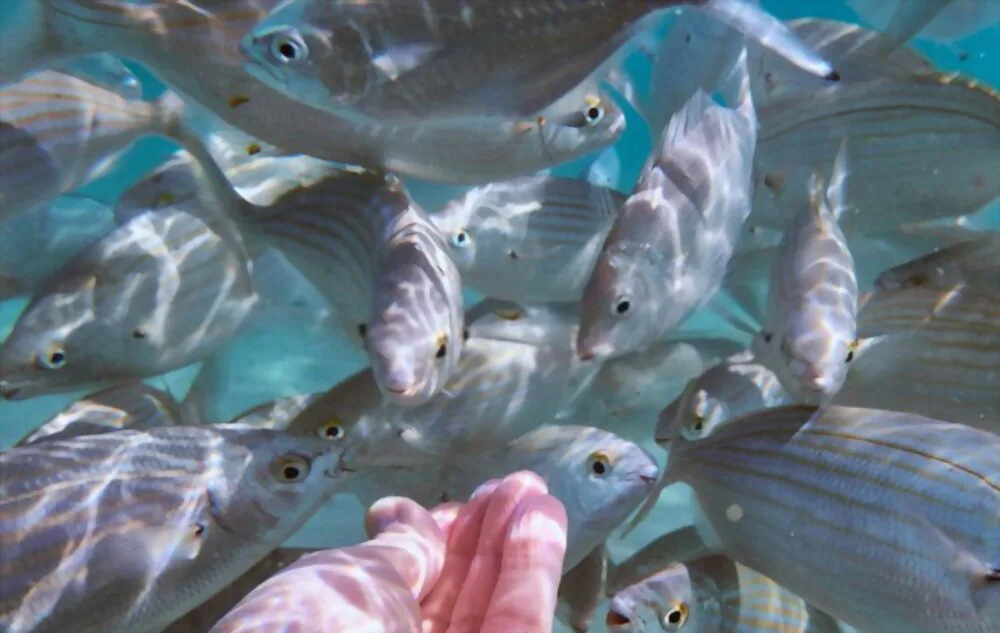
After setting up your saltwater aquarium and cycling the tank, you are ready to introduce fish to your newly set up saltwater fish tank. If everything has gone right, the water should be clear and clean. The nitrogen cycle should be well established and the live rock should be teeming with life.
Some Things To Consider Before Introducing Fish To Your Newly Set Up Saltwater Fish Tank
Before introducing any fish into a freshwater or saltwater aquarium it is important to make sure that the environment is safe for those fish. Most of the time when people have problems with their tanks, it is because they did not fully understand what kind of pet fish they are getting. A little bit of research will go a long way in making sure that you get the right fish for your aquarium and know what kind of care they will need.
Video Guide: Salt Water Tank Set Up
Cleaning Your Saltwater Aquarium
A saltwater aquarium is a beautiful addition to any home, but the tanks are prone to getting a bit dirty.
It’s important to keep your saltwater tank clean, since algae, debris, and other organic matter can be harmful to your fish and other tank inhabitants.
While some would say that freshwater aquariums are easier to clean than their saltwater counterparts, the truth is that both have their own challenges. If you have a saltwater aquarium, you might be wondering what exactly goes into cleaning it.
Here are some tips for cleaning your saltwater aquarium:
- Remove any large particles floating in the tank, such as feces or uneaten food.
- Use a small net to scoop out any material stuck on the bottom or sides of the tank.
- Clear the inside of the filter by rinsing it in warm water.
- Change 10 percent of the water each week with pre-mixed saltwater (or water you’ve treated yourself).
Feeding Your Saltwater Fish
Feeding your fish is a very important part of keeping them healthy, and it will also help you to develop a relationship with your fish that can be very rewarding.
The key to feeding your saltwater fish is to vary the diet. Most fish don’t eat the same thing all day long in the ocean, so they shouldn’t have to eat the same thing in an aquarium either.
Fish food comes in many forms including flakes, freeze-dried, frozen, and even live foods. When feeding your fish, give them just enough food that they can consume in about two minutes, and try not to overfeed them.
Here are some tips for feeding your saltwater fish:
- Observe how your fish react when you approach the tank. If they are begging for food (swimming excitedly back and forth from the front of the tank) then it is time for feeding.
- In most cases, you should feed your fish only once or twice per day.
- Feed only as much food as your fish can consume in about 5 minutes. If more than half of the food ends up in the substrate or decor of your tank, you probably fed too much.
- Feeding a healthy diet to your saltwater aquarium fish will keep them happy and help to minimize any health problems.
Best Saltwater Aquarium Fish For Beginners
The best saltwater aquarium fish for beginners is one that’s hardy and easy to care for. The reason for this is quite simple: if you’re a beginner, it’s easy to make mistakes.
The good news is that there are some excellent saltwater aquarium fish for beginners. However, the following three are not only great choices for beginners but also look great in just about any reef tank.
1- Clownfish
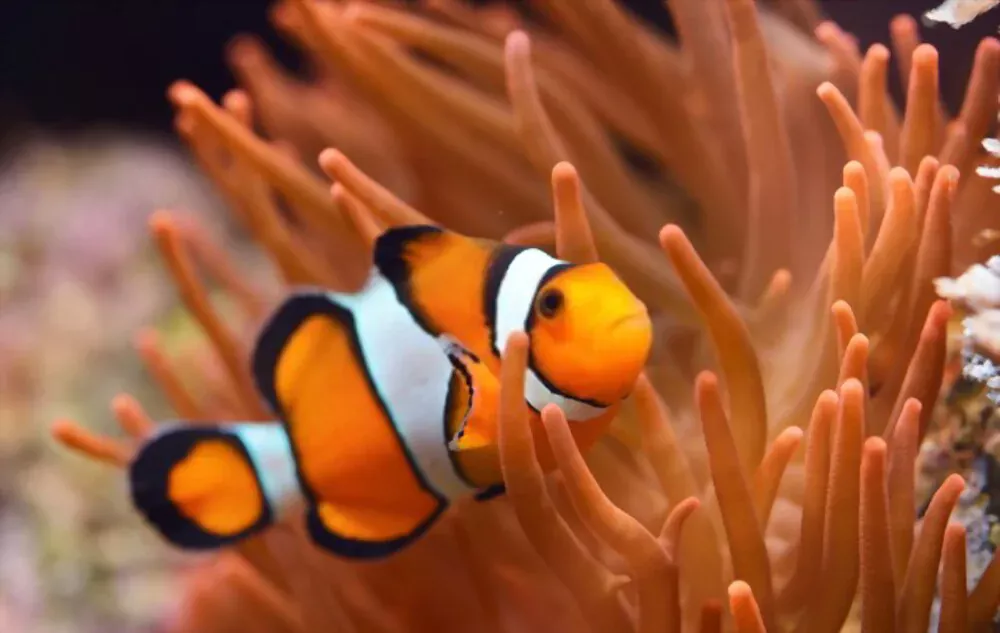
Clownfish are arguably the most popular fish in the saltwater hobby. They’re colorful, hardy, and come in numerous varieties with unique patterns, colors, and personalities. The most common type of clownfish is the ocellaris clownfish (Amphiprion ocellaris). These clownfish have orange bodies with three white bands on their head and body and a black margin around the white bands. Some have been selectively bred to feature different colors or markings.
2- Chromis
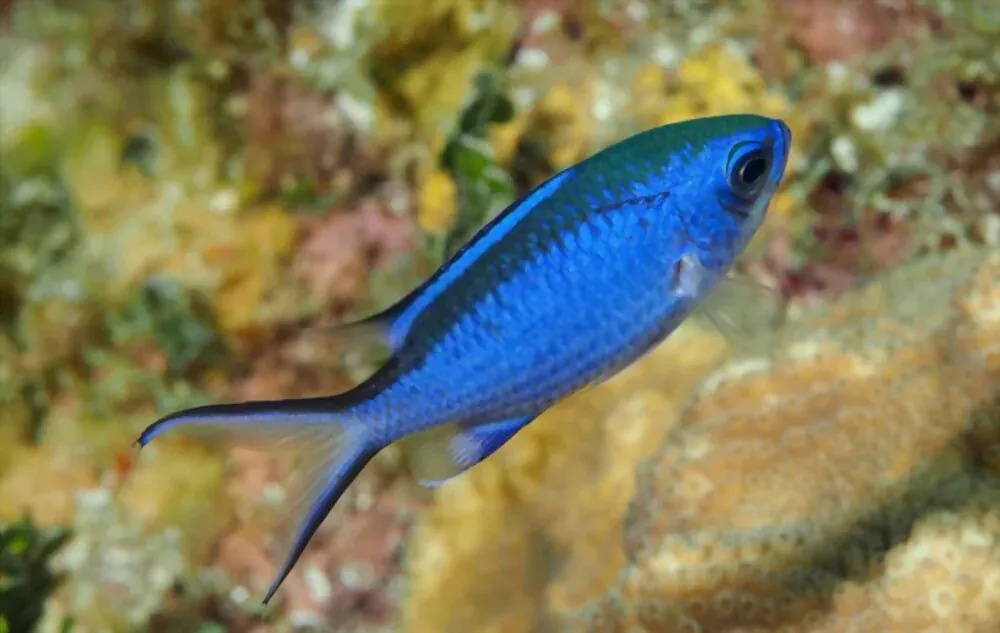
Chromis (Chromis Viridis) are gorgeous damselfish that come in electric blue colors. They usually grow to around three inches long and do best when kept in groups of five or more individuals. In fact, they’ll shoal closely together as they glide through the water column of your reef tank.
3- Damselfish
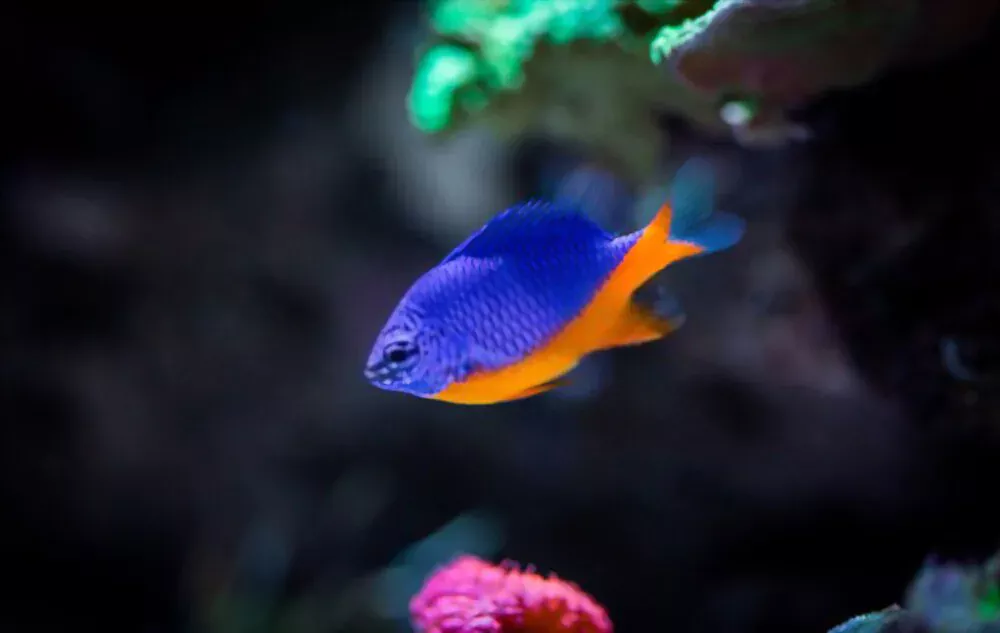
Damselfish are also easy to maintain and do well in tanks that are smaller than 30 gallons. They’re very peaceful, schooling fish and usually don’t get any larger than 3 inches long. Their bright colors make them attractive additions to any tank, but they can become territorial if their environment changes or they feel threatened. Damselfish commonly live between 5-7 years when cared for properly, so they’ll be around for a while.
How To Lower Nitrates In A Saltwater Aquarium?
Nitrates are formed in saltwater aquariums as a byproduct of the nitrogen cycle. Nitrogen is present in the form of ammonia and nitrite, which are broken down into nitrates by beneficial bacteria. Nitrates can build up in the aquarium as a result of overfeeding and inadequate water changes.
Lowering them is essential for the health of your fish, who can be poisoned by high levels.
1- Water Changes
The best way to lower nitrate levels is to perform regular water changes with deionized or distilled water. You should aim to remove about 15 percent of the tank’s water weekly. For example, a 200-liter (53-gallon) tank would require 30 liters (8 gallons) of water to be removed and replaced each week.
2- Biological Filtration
You can also reduce nitrates with denitrification filters or wet-dry filters. Denitrification filters use specific types of bacteria that break down nitrates into nitrogen gas, which can escape from the aquarium through an airline. Wet-dry filters work similarly but use aerobic rather than anaerobic bacteria, meaning they require oxygen to operate effectively.
3- Live Rocks
Another way to lower nitrate levels is by using live rock. Live rock is a rock that is covered in beneficial bacteria that will help to break down waste in your tank. The bacteria located on the live rock will help to convert the ammonia from waste into nitrites, which are then converted into nitrates.
The amount of live rock you add to your tank will be dependent on how much waste you produce in your tank, but for an average-sized tank with moderate fish populations, adding about 50 pounds of live rock should be sufficient.
In addition to helping you maintain consistent nitrate levels, live rock can also help make your aquarium look more beautiful and provide your fish with plenty of places to hide and explore. Although it can be somewhat expensive, live rock is well worth the price if it helps you keep nitrates at a constant level so you don’t have to perform water changes as often as you would otherwise.
How Do You Raise pH Level In A Saltwater Aquarium?
The pH level of your aquarium is important because it affects the balance, oxygenation, and health of all species living in it.
If you notice your aquarium’s pH is too low, check all other water parameters before treating the pH level with chemicals.
The best way to raise the pH level in a salt water aquarium is to use a product called Sea Chem Reef Builder. This product comes in the form of a powder, which you can then add to the tank. It is also important to remember that you should only add this product after all the other chemicals in your aquarium have been added, as an increase in pH will cause them to be less effective.
Another good tip is to ensure that you are regularly cleaning your tank, as this will keep it at a safe level and reduce the need for chemical products.
Final Words
Setting up your first saltwater tank is a daunting process. There are a lot of things that you need to keep track of to ensure the health of your fish, corals, and other inhabitants. However, with proper planning and execution, you’ll be on your way to having a successful aquarium. The more research you do and the more questions that you ask, the easier it will be for you to get started.
Please let us know in the comment section if you have any questions.

