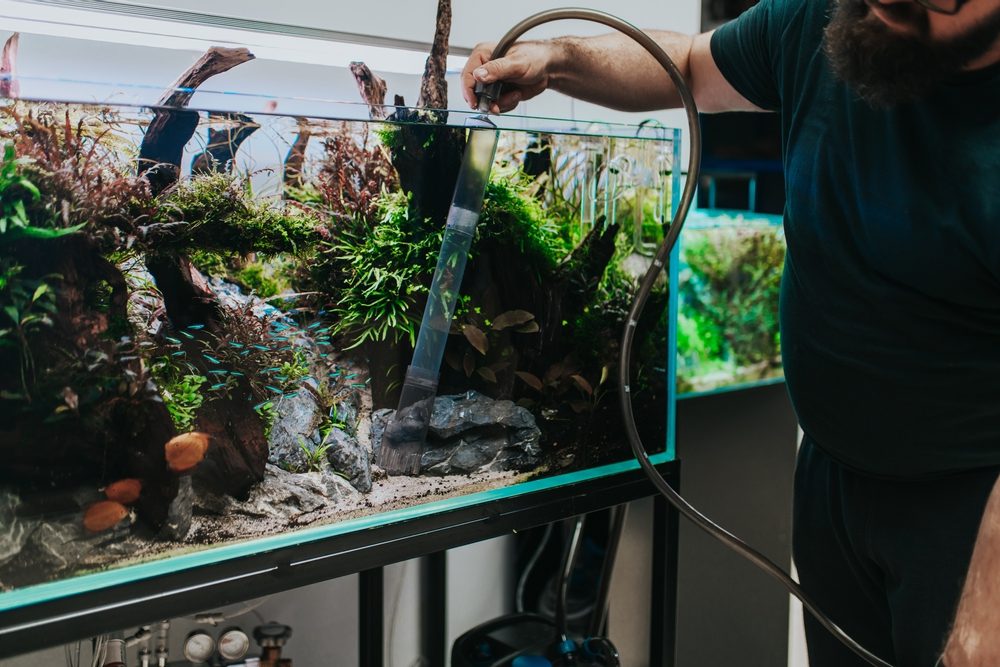
Regular water changes are helpful in ensuring that the water quality of a betta fish tank is kept at a level that is optimal for the fish’s wellbeing. In this post, we are going to talk about how changing the water in the betta tank might affect your fish’s health, as well as how often you should change the water in the tank.
When I acquired my betta fish for the first time, I was incredibly happy, and I made sure to pay a lot of attention to them. I used to change the water very often, but as time went on, I lost interest in doing these repetitive tasks, So started to change the water less frequently.
At that time, one of the things that I was most curious about was whether or not I should change the water of my betta fish tank. I wanted to know how long betta fish can live without a water change, so I contacted a buddy who has experience keeping betta fish for a long period. He said:
On average, betta fish can go without water change for between 2 to 4 weeks. But it is recommended to change the betta fish water after every week. When changing the water, it’s best to replace between 15 and 20% of the total tank water. It is also a good practice to siphon the dirty water from the bottom of the tank. This way, as water is being removed, a lot of the solid waste that has built up on the bottom of the tank will also be removed.
Even though the solution is straightforward, there is a fair bit more to the story. It will be elaborated upon more in the next sections of this article. Therefore, if you are curious about gaining knowledge, please continue reading.
How Long Can Betta Fish Go Without Water Change?
Even If betta fish can survive for weeks without their water being changed, it does not imply you should stop changing their water on a regular basis. Your betta fish will produce waste as he eats, and while some of that waste will be picked up by your filter, the majority of it will sink to the bottom of the tank, where it will accumulate along with any uneaten fish food.
If you want to keep your tank clean, you should remove as much of the waste from the bottom of the tank as possible. These solid waste products will eventually decompose, and one of the byproducts of this process is ammonia, which is a toxin that, at high enough concentrations, is harmful to betta fish.
If you do not replace the water in your tank on a regular basis, the ammonia levels might build to a lethal level, and your betta could become poisoned by the ammonia.
It is vital to do weekly water changes in order to maintain a high level of cleanliness in the water in your betta tank. As I mentioned earlier, the volume of water that is changed during each water change should account for between 15 and 20 percent of the total volume of the tank. This means that if you have a 20-gallon betta tank, you should drain and replace between 3 and 4 gallons of water during each water change.
A Daily Water Change Is Not Recommended
You could assume that it is a good idea to replace all of the water in the tank every day or change all of the water in the tank every other day; however, none of these things is a good idea. It has the potential to disrupt the essential circumstances that the betta fish requires in order to live. For example, the pH level of the water, the temperature, and the biological and microbiological components that are necessary for living.
The smaller the water tank, the more frequently it will need to have its contents replaced.
When doing a water change, it is preferable to siphon the filthy water from the bottom of your tank. This way, in addition to removing part of the tank water, you will also be eliminating a big percentage of the solid waste build-up that has accumulated on the tank bottom. This was previously noted.
Step-by-Step Process Of How To Properly Change Betta Fish Water
1- Prepare The Aquarium For Water Change
It is essential that you power off all of the equipment and y You should stock up on a lot of towels since you are going to need them at some point in the process.
There are a number of reasons why you should make sure that your equipment is turned off, including the following:
In order to prevent the water level from falling below the filter input, it is required to turn off the filter. In the event that this occurs, the filter will begin to emit a piercingly loud noise and will begin to draw in the air rather than water. You will run the risk of causing your filter to get damaged.
In a similar manner, the heater has to be switched off since the temperature of the room is often lower than the temperature of the water in a tropical aquarium. If the water level in the tank dips below the thermostat of the heater, the heater will begin to work harder to get the room’s temperature up to a tropical level, which creates an immediate risk of fire and might cause you to lose all of your fish. Obviously, we do not want this to happen to us.
2- Siphon Out The Water
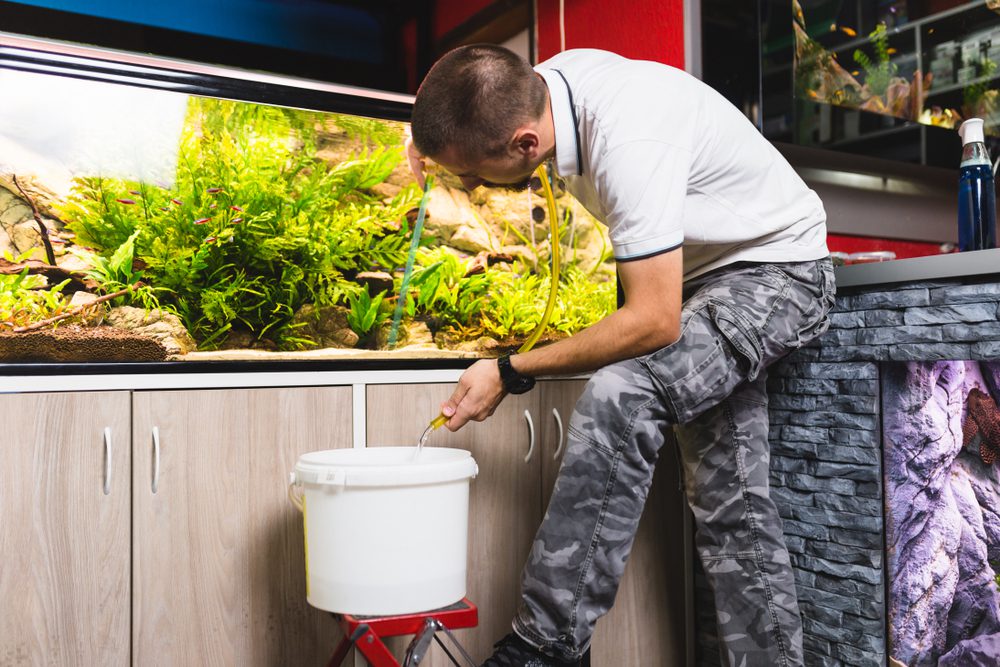
Put the bucket down on the ground at a convenient location. To transfer water from one location to another, you will need to make use of gravity and a siphon. Be cautious to check that the height of the aquarium is more than that of a bucket. In this particular scenario, the bucket needs to be placed on the floor, and the aquarium ought to be placed on the table or aquarium stand in some fashion.
Place the open end of the tubing that connects your siphon to the bucket that is empty. In order to keep it from falling out of the bucket, it should come very close to touching the bottom of the container.
The second step is to position the other end of the siphon into the tank. It is recommended that you make use of weight in order to ensure that the end of the hose remains submerged in the water.
Never attempt to start the flow by sucking water through the tube. You run the risk of swallowing microorganisms that are hazardous.
For siphoning, you may use almost any kind of hose or tube. On the other hand, having a hose that is see-through is really helpful in this situation since it allows you to monitor how far the water has traveled.
Once both ends of the siphon have been correctly positioned, water will begin to flow into the bucket via the siphon. It will keep going until either the tank is completely empty or you remove the end of the siphon from the aquarium.
3- Clean The Gravel
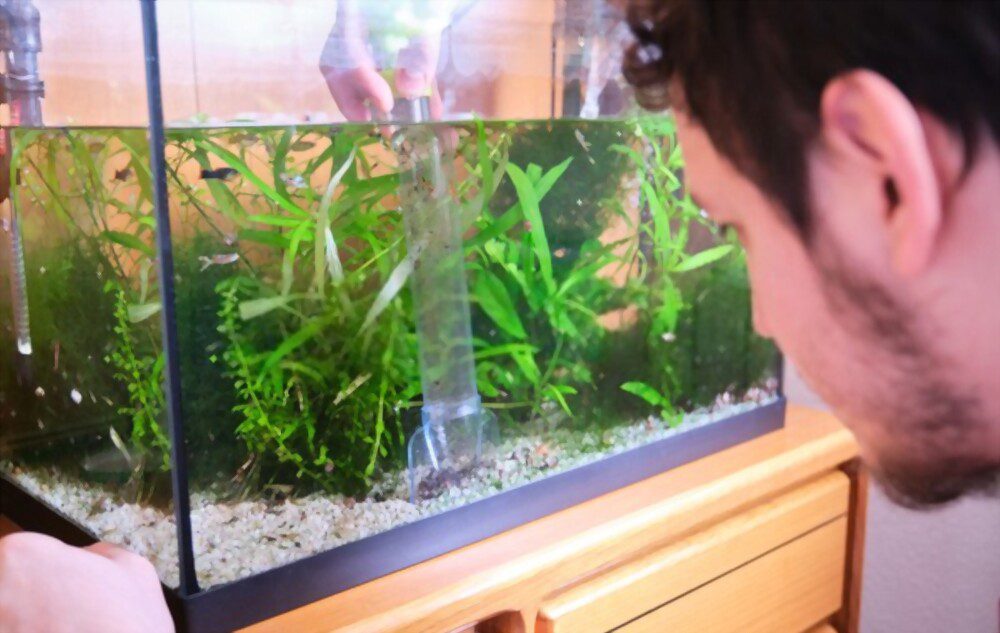
You have two ways to clean the gravel:
- With Vacuum
- Without Vaccum
Cleaning The Gravel With Vacuum: To remove the water and gravel from a bucket, you may use a battery-powered gravel cleaner or a siphon gravel vacuum with a hose attached. Keep in mind that you should not remove more than 20% of the water in the tank. The tank should always be stocked with beneficial microorganisms. Continue doing so until the water clears or you have cleaned all of the gravel floor sections.
Cleaning The Gravel Without Vacuum: Cleaning gravel without a vacuum is another option. This method is unreliable, in my opinion. Always use vacuum gravel but if you still wanna continue down this road then this low-tech method is similar to the above technique for cleaning new gravel, except you do the things manually by putting dirty gravel in a sieve with a cup. Run water or a hose over the dirty gravel in the sieve. Shuffling the gravel helps debris settle.
3- Prepare The Water To Put In The Aquarium
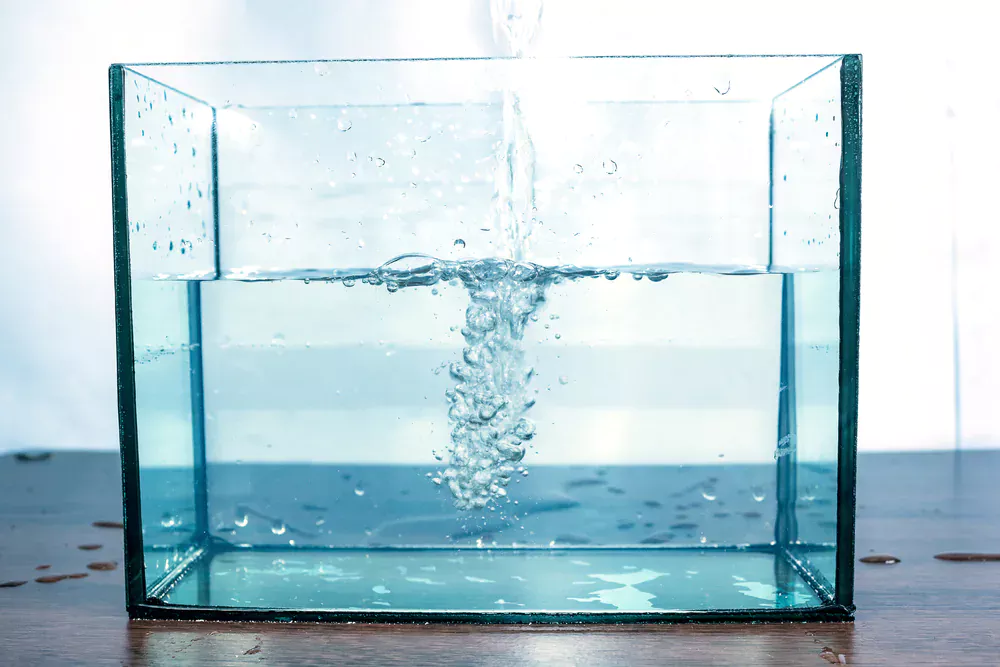
You should start by rinsing your bucket and then Making sure that the container has never contained any potentially hazardous compounds, such as chemicals or cleaning agents, and that it is thoroughly clean before using it.
Put the proper quantity of aquarium salt into your container together with the amount of water that you will need.
However, before you put this water into the aquarium, you may want to make sure that the water you’re adding to the aquarium isn’t going to be too cold for fish. it doesn’t need to be at the same temperature as the aquarium, but the closer it is to that temperature, the better.
My suggestion is that the water temperature should be somewhere in the vicinity of the typical room temperature, which is 20–22 degrees Celsius (68–72 degrees Fahrenheit).
Now, transfer the water from the container to the aquarium with great care. Be careful not to spook the fish by slowly pouring the water. When you are putting the water into the aquarium, be careful not to pour it straight on the fish or the decorations.
How to Effectively Monitor Your Tank’s Water Quality?
1- Visual Inspection Is The Key
It is essential to do visual inspections on a daily basis; any unexpected change in the behavior or look of your fish may be an indication that there is a problem.
For instance, if a fish’s gills become brown instead of the more typical pink color, this is likely an indication that there is an excessive amount of nitrate in the water. This will inhibit the capacity of red blood cells to transport oxygen throughout the body. Nitrate buildup may often be remedied by doing regular partial water changes.
A rise in the level of nitrite or toxic ammonia may be the result of “new tank syndrome,” which is caused by overfeeding on a regular basis, or it may be the consequence of overstocking the tank, which places additional demands on the filtration system. Both of these scenarios can result in an increase in the concentration of nitrite or toxic ammonia.
2- Use The Water Testing Kits
It is also recommended that water testing kits be used in order to do weekly checks on the water’s quality. You may go to another article about How To Use Water Testing Kit if you’re interested in reading more about how you can utilize water testing kits.
The chemical zeolite has the ability to remove ammonia from the water; it may either be put into the filter (if one is already there), or it can simply be dropped into the water.
How To Take Care Of Fish When You Are Not Home?
1- Buy An Automatic Feeder
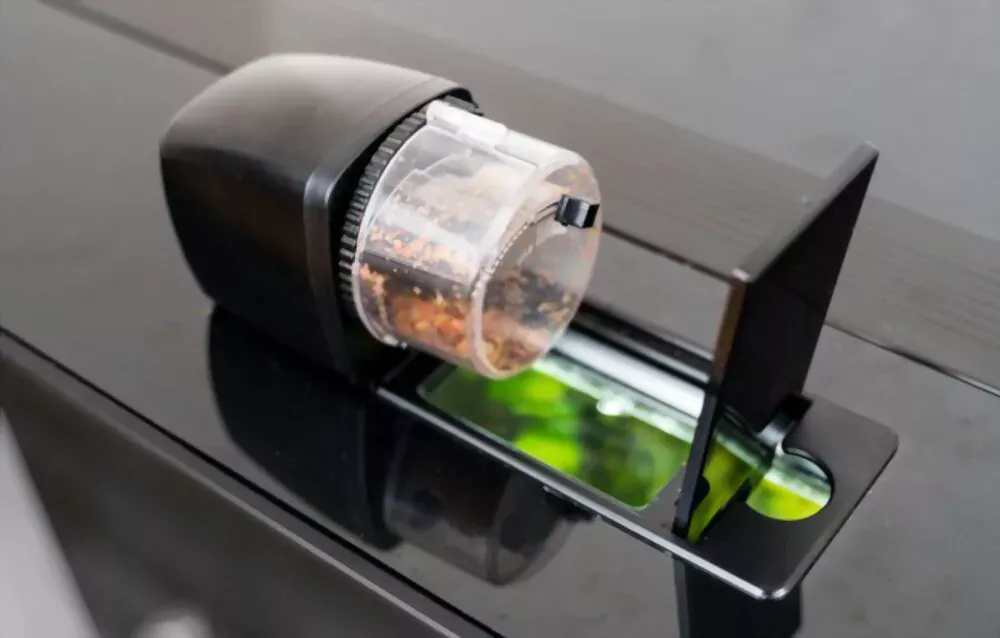
The installation of an automated feeder is the first solution that comes to mind, and it is also likely the best one. Although this is not always a cheap option, if you invest in a quality feeder, you will never have to worry about feeding your pets while you are away from home again. You just need to load it up, then tell it when to feed, and you won’t have to worry about it again.
2- Request A Favor From A Friend
We are all aware of the significance that friends have in our lives. Therefore, if you have any friends who live in the area, ask one of them to do you a favor and check in on your fish on a frequent basis.
3- Take Help From Your Neighbors
You might also make arrangements for a neighbor to check on the tank on a daily basis in case there is a power outage or if any of the equipment stops working properly.
4- Consider Hiring A Fish Sitter
Because it is always a good idea to have someone see your fish on a frequent basis, this is by far the greatest alternative you have available to you. This is true regardless of how effective your automated fish feeder may be.
A brief period of training for your sitter before you entrust him or her with full responsibility for your children is something that you should consider doing. In order to avoid overfeeding, it is important to demonstrate to him or her precisely how much food they should offer at each visit.
I usually make sure to leave a note with my contact information, the appropriate feeding schedule for the fish, and a list of other items that need to be inspected. It is my suggestion that you should also leave a note as well.
Few Final Words
Betta fish are sensitive creatures and are easily subject to stress caused by various factors. This can cause a lot of damage to the health of your betta fish. That is why as a fish owner, you should seek information when it comes to maintaining the well-being of your pet betta fish.

